Women on Bikes! [Bicycles, that is!]
Bike Women Bike
I believe women belong on bikes.
Not just the fast ones. Not just the elite “athletes.” Not just the ones who ride 50 miles before breakfast.
All women. Everyday women!!
- The woman whose bike has been sitting in the garage for years.
- The mom trying to keep up with her kids.
- The midlife woman rediscovering her strength.
- The woman who wonders quietly, “Can I still do this?”
- The everyday woman just getting back on her bike but feels unsure.
Yes.
- You can.
- You don’t have to ride far.
- You don’t have to ride fast.
- You don’t need the perfect gear or the perfect plan.
You just need to start.
- One mile.
- Around the block.
- Down the rail trail.
Because every ride matters.
- Every ride builds confidence.
- Every ride builds strength.
- Every ride reminds us that freedom is still there waiting for us.
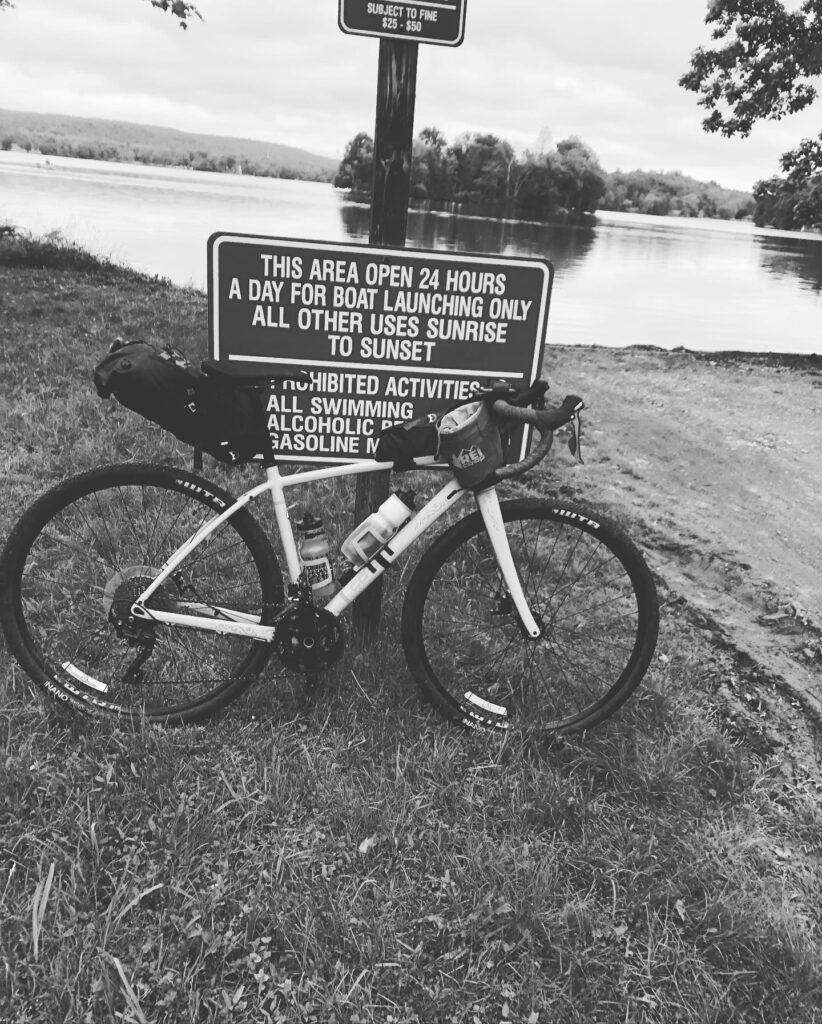
Bike Women Bike is more than a cycling community.
It’s a movement of everyday women reclaiming joy, strength, adventure, and possibility — one ride at a time.
We ride together.
- We encourage each other.
- We celebrate every mile and every small victory.
Because we believe something simple and powerful:
Every ride is a good ride.
Every ride counts!!!!

Bike Women Bike is a virtual community for everyday women who want to feel confident, capable, and connected to cycling — at any age or stage. Through encouragement, practical info hubs, and supportive connection, we help you build strength, freedom, and steady momentum on your bike. 

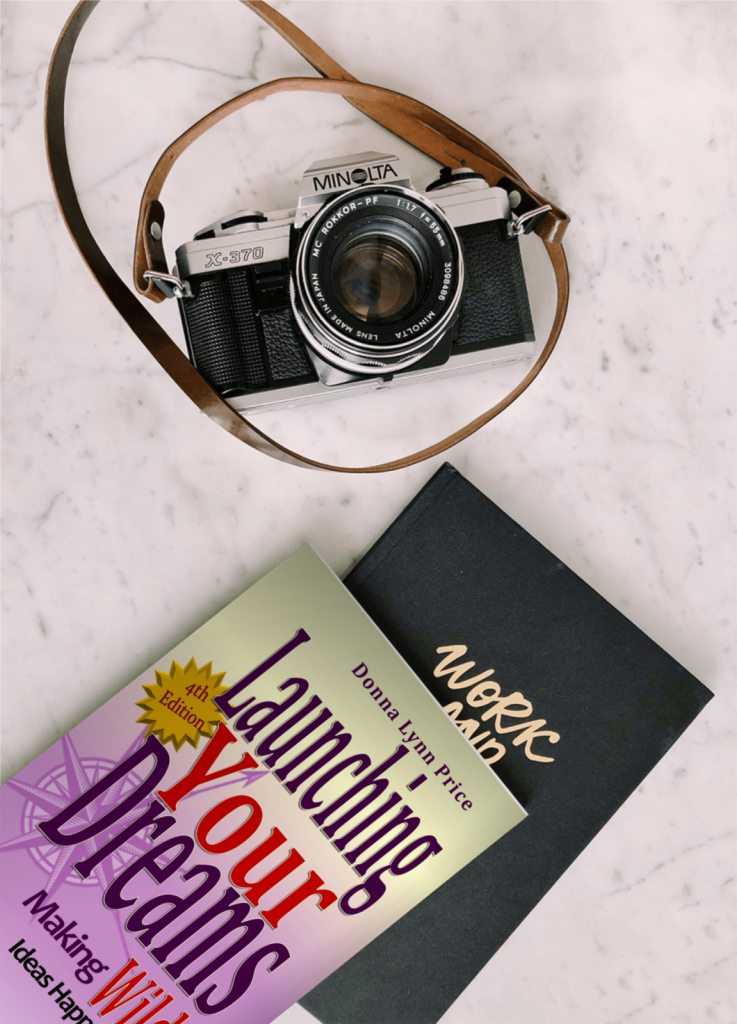
Grab a copy
of my book with highlights of my cross country bike ride and a business log. Whatever your dream, this book has great strategies for making it happen!!
Bike Training Resources